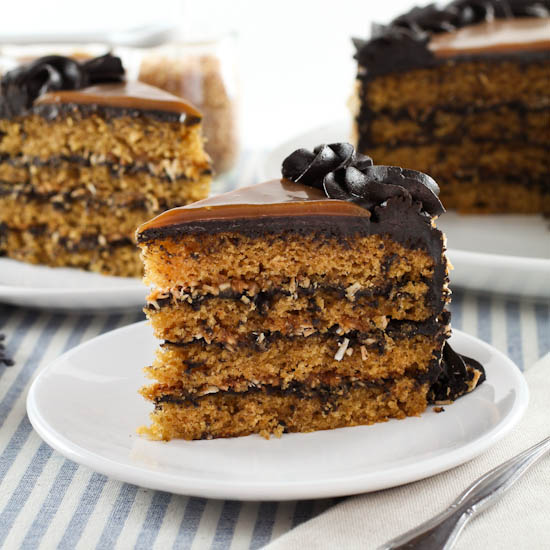
I have not made a cake for fun in a while.
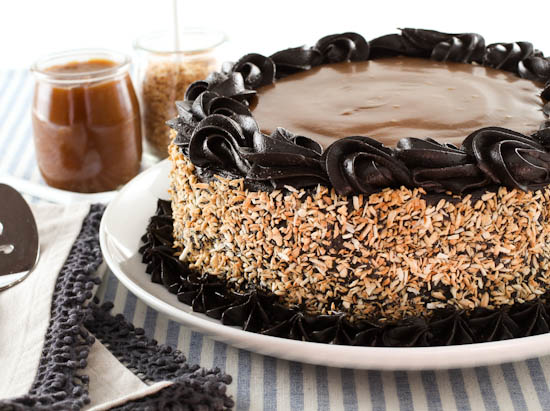
The problem with having a whole cake sitting around the house is I will eat a whole cake. I know I will. I have seen me do it. So, generally I do not make cakes to keep around the house, but I was feeling domestic the other day, and I was also feeling rather nostalgic. When I was little I would spend a few weeks with my grandmother Lola. She spoiled me with impunity, and would make me all kinds of treats to greedily devour. One treat she made was an icebox cake with graham crackers, whipped topping, chocolate sauce, and caramel sauce. It was not high cooking, but to my 8 year old taste buds it was bliss. It was that dessert that inspired this cake.
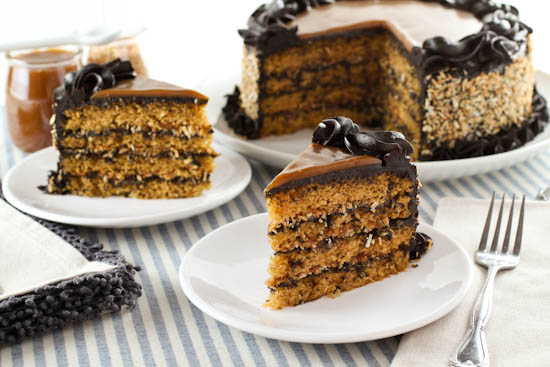
The cake layers are made with graham cracker crumbs, so the finished cake has a buttery graham flavor, but a light, tender crumb. I decided to forego the chocolate sauce, as that would make things a little soggy, in favor of chocolate frosting. To make the cake look special, and a little more like grandma’s icebox cake, I decided to tort– or split – the cake layers. Each layer is filled with a thin layer of frosting, homemade caramel sauce, and – because I wanted it – some toasted unsweetened coconut. The flavor is not overly sweet, but the caramel sauce with the graham cake gives the cake a richness that means a small slice goes a long way. It is buttery, soft, and a little crunchy from the toasted coconut. I recommend making this cake a day ahead and letting it chill in the fridge so the caramel, coconut, cake, and chocolate can get really well acquainted. This is everything I loved about grandma’s icebox cake, just taken to a new level.
- For the cake:
- 1 ¼ cups graham cracker crumbs (about 9 sheets)
- 1 cup all-purpose flour
- 1 teaspoon baking powder
- ½ teaspoon baking soda
- ¼ teaspoon salt
- ¾ cup packed light brown sugar
- ¼ cup oil, coconut or vegetable
- ¼ cup butter, melted
- 3 eggs
- ½ cup buttermilk
- 2 teaspoons vanilla
- For the frosting:
- 8 tablespoons (1 stick) butter, at room temperature
- ¾ cup cocoa powder
- 3 cups powdered sugar
- Pinch of salt
- ⅓ cup whole milk
- 2 teaspoons vanilla
- For the filling:
- 1 ½ cups unsweetened coconut, toasted and cooled
- 1 cup caramel sauce
- Heat the oven to 350F and spray 2 8-inch cake pans with non-stick cooking spray.
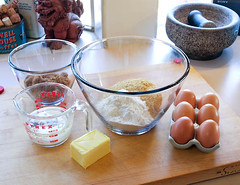
- In a medium bowl combine the graham cracker crumb flour, baking powder, baking soda, and salt. Whisk to combine then add the brown sugar and mix well. Make a well in the center of the flour and set aside.

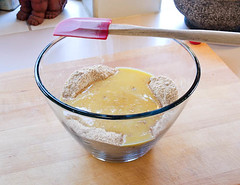
- In a separate bowl combine the oil, butter, eggs, buttermilk, and vanilla. Whisk the mixture until it is thoroughly combined. Pour the wet ingredients into the dry ingredients and mix until all the dry ingredients are moistened, about 12-15 strokes.
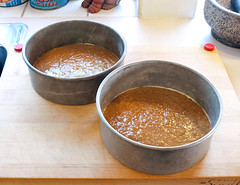
- Divide the batter into the prepared pans and bake for 20-23 minutes, or until the cakes start to pull away from the sides of the pan and the center of the cake springs back when gently pressed. Pull the cakes from the oven and allow to cool in the pans for 10 minutes, then turn out onto a wire rack to cool to room temperature.
- While the cake cools make the frosting.
- In the work bowl of a stand mixer, or in a large bowl with a hand mixer, combine all of the ingredients for the frosting. Beat on low speed until the dry ingredients are moistened, then beat on medium speed until the frosting is smooth and silky. Cover with plastic until ready to use.
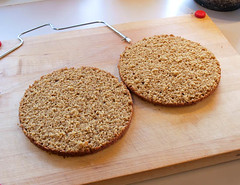
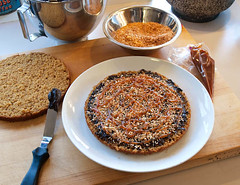
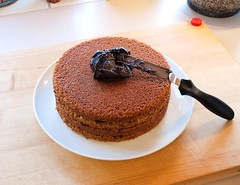
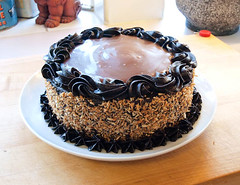
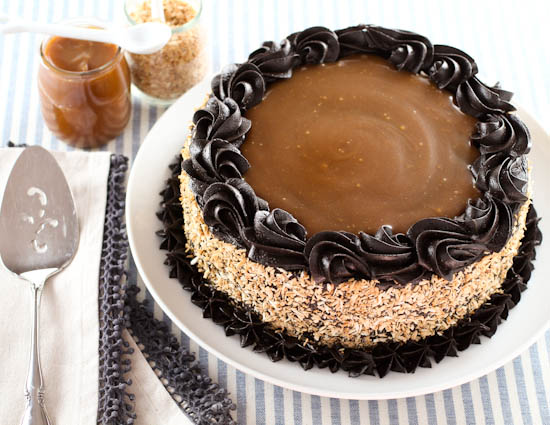
- When the cakes are cooled carefully split each cake layer into two pieces. Place one cake layer cut side up on a serving plate or board. Spread about ¼ cup of frosting on the cake layer, then sprinkle with toasted coconut and drizzle with caramel sauce. Repeat with the next two layers. Place the final layer on the top cut side down. Frost the entire cake, reserving some frosting for piping the borders, and press coconut onto the sides of the cake. Pipe the top border and gently spread caramel sauce on the top of the cake inside the border. Pipe the bottom border, then chill the cake for at least 4 hours, or overnight.
- Allow the cake to warm up slightly before slicing.
Enjoy!
