
I went to Camp Blogaway over the weekend, and to celebrate I baked a coffee cake!
This year Luck Leaf sponsored* my trip to Camp Blogaway and asked me to create a new recipe perfect for a weekend in the mountains. Along with some fun items to give to some lucky campers – like muffin liners, pie carriers, samples of their Premium Fruit Pie Fillings, and funky retro timers – I brought this cake to share. After dinner, while we were all getting to know one another a little better, I shared slices of cake with some VERY happy campers!
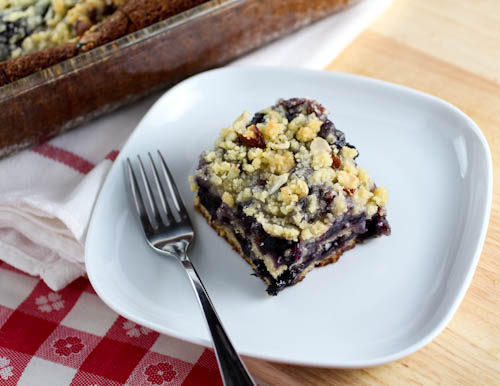
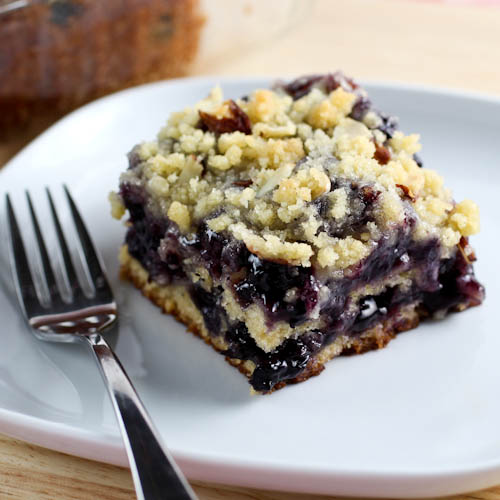
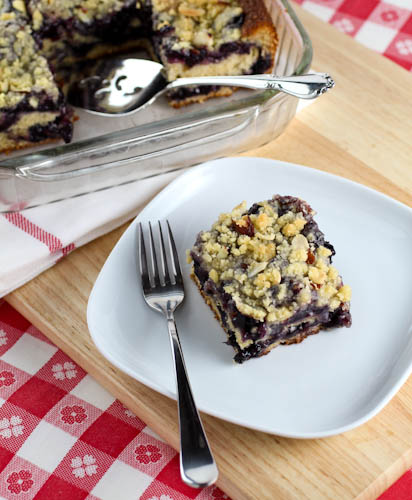
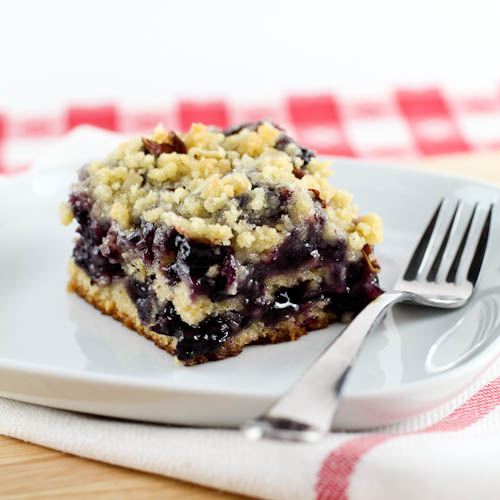
This cake has a rustic, homemade look, and when you slice into the cake you fine layer upon layer of moist cinnamon cake, Lucky Leaf Premium Blueberry Pie Filling, and toasty flaked almonds. On the top I made a buttery almond crumble to add some sweet crunch. If blueberry is not your thing you can easily substitute any other flavor of Lucky Leaf filling like dark sweet cherry, strawberry, raspberry, or any flavor that strikes your fancy. Because you do not have to take the time to prepare the fruit filling from scratch you can have this cake can be in the oven in 20 minutes! It also keeps very well overnight, so if you wanted to make this the evening before feel free. I think it tastes better when left to sit because the flavors have time to mingle.
So, a HUGE thank you Lucky Leaf for sending me to camp. I met new friends, reconnected with good friends, and shared the coffee cake love! Sharing is caring!
- For the topping:
- ½ cup all-purpose flour
- ½ cup sugar
- ¼ cup butter, cubed and chilled
- ¼ cup sliced almonds
- For the cake:
- ¼ cup vegetable oil
- 3 tablespoons butter, at room temperature
- ¾ cup packed light brown sugar
- ¾ cup sugar
- 2 eggs, at room temperature
- 2 teaspoons vanilla
- 2 cups all-purpose flour
- ¾ teaspoon baking powder
- ¼ teaspoon baking soda
- ¼ teaspoon salt
- ⅛ teaspoon cinnamon
- 1 cup buttermilk
- 2 21-cans Lucky Leaf Premium Blueberry Pie Filling
- ½ cup sliced almonds
- Begin by mixing the topping.
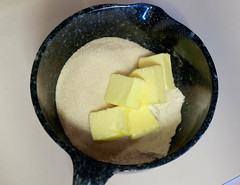
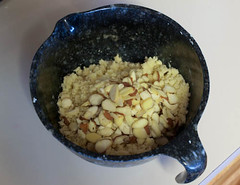
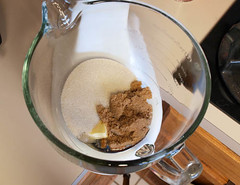
- In a small bowl combine the flour and sugar and whisk to thoroughly combine. Add the cubed butter and, with your fingers, rub the butter into the flour until the mixture resembles coarse sand. Add the almonds and mix to combine. Cover and chill while you prepare the cake batter.
- Heat the oven to 350 F and spray a 9x13-inch pan with non-stick cooking spray.
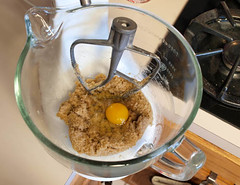
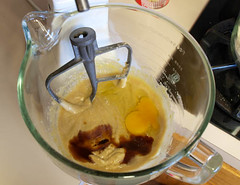
- In the work bowl of a stand mixer, or in a large bowl with a hand mixer, add the oil, butter, brown sugar, and sugar. Mix on medium-low speed until the mixture is well combined, about 1 minute. Add the eggs one at a time, mixing for 30 seconds after each addition, then add the vanilla and mix on low to combine, about 30 seconds.

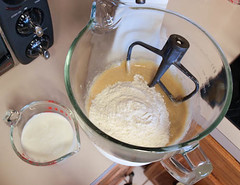
- In a separate bowl combine the flour, baking powder, baking soda, salt, and cinnamon. Whisk well to combine. Add the flour mixture alternately with the buttermilk mixing for 30 seconds after each addition, starting and ending with the flour. Make sure not to over-mix the batter.
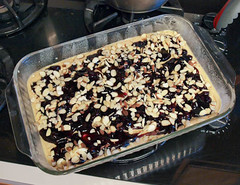
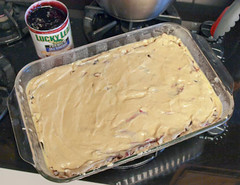
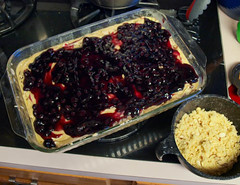
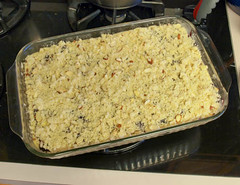
- Spread half of the batter into the prepared pan, top with 1 can of Lucky Leaf Premium Blueberry Pie Filling and all of the sliced almonds. Gently spread the remaining cake batter over the top, then spoon the second can of filling over the batter. Finally, evenly sprinkle the topping over the blueberries.
- Bake for 55 to 60 minutes, or until the edges of the cake begin to pull away from the sides of the pan and the cake is firm when gently pressed in the center. Cool completely to room temperature before serving.
Enjoy!
*Evil Shenanigans Product Review Policy and Payment Disclosure– Lucky Leaf provided me a sponsorship to Camp Blogaway, an airfare stipend, samples of their pie filling, and gift items to give away at camp at no cost in exchange for this blog post. Any opinion expressed is my own and is not influenced in any way by the manufacturer/PR firm. I only review products that I have personally tested and endorse.


